30 tips to PERFECTING chocolate bonbons at home - A detailed guide

Published: June 24th, 2021 | Last Updated: June 24th, 2021
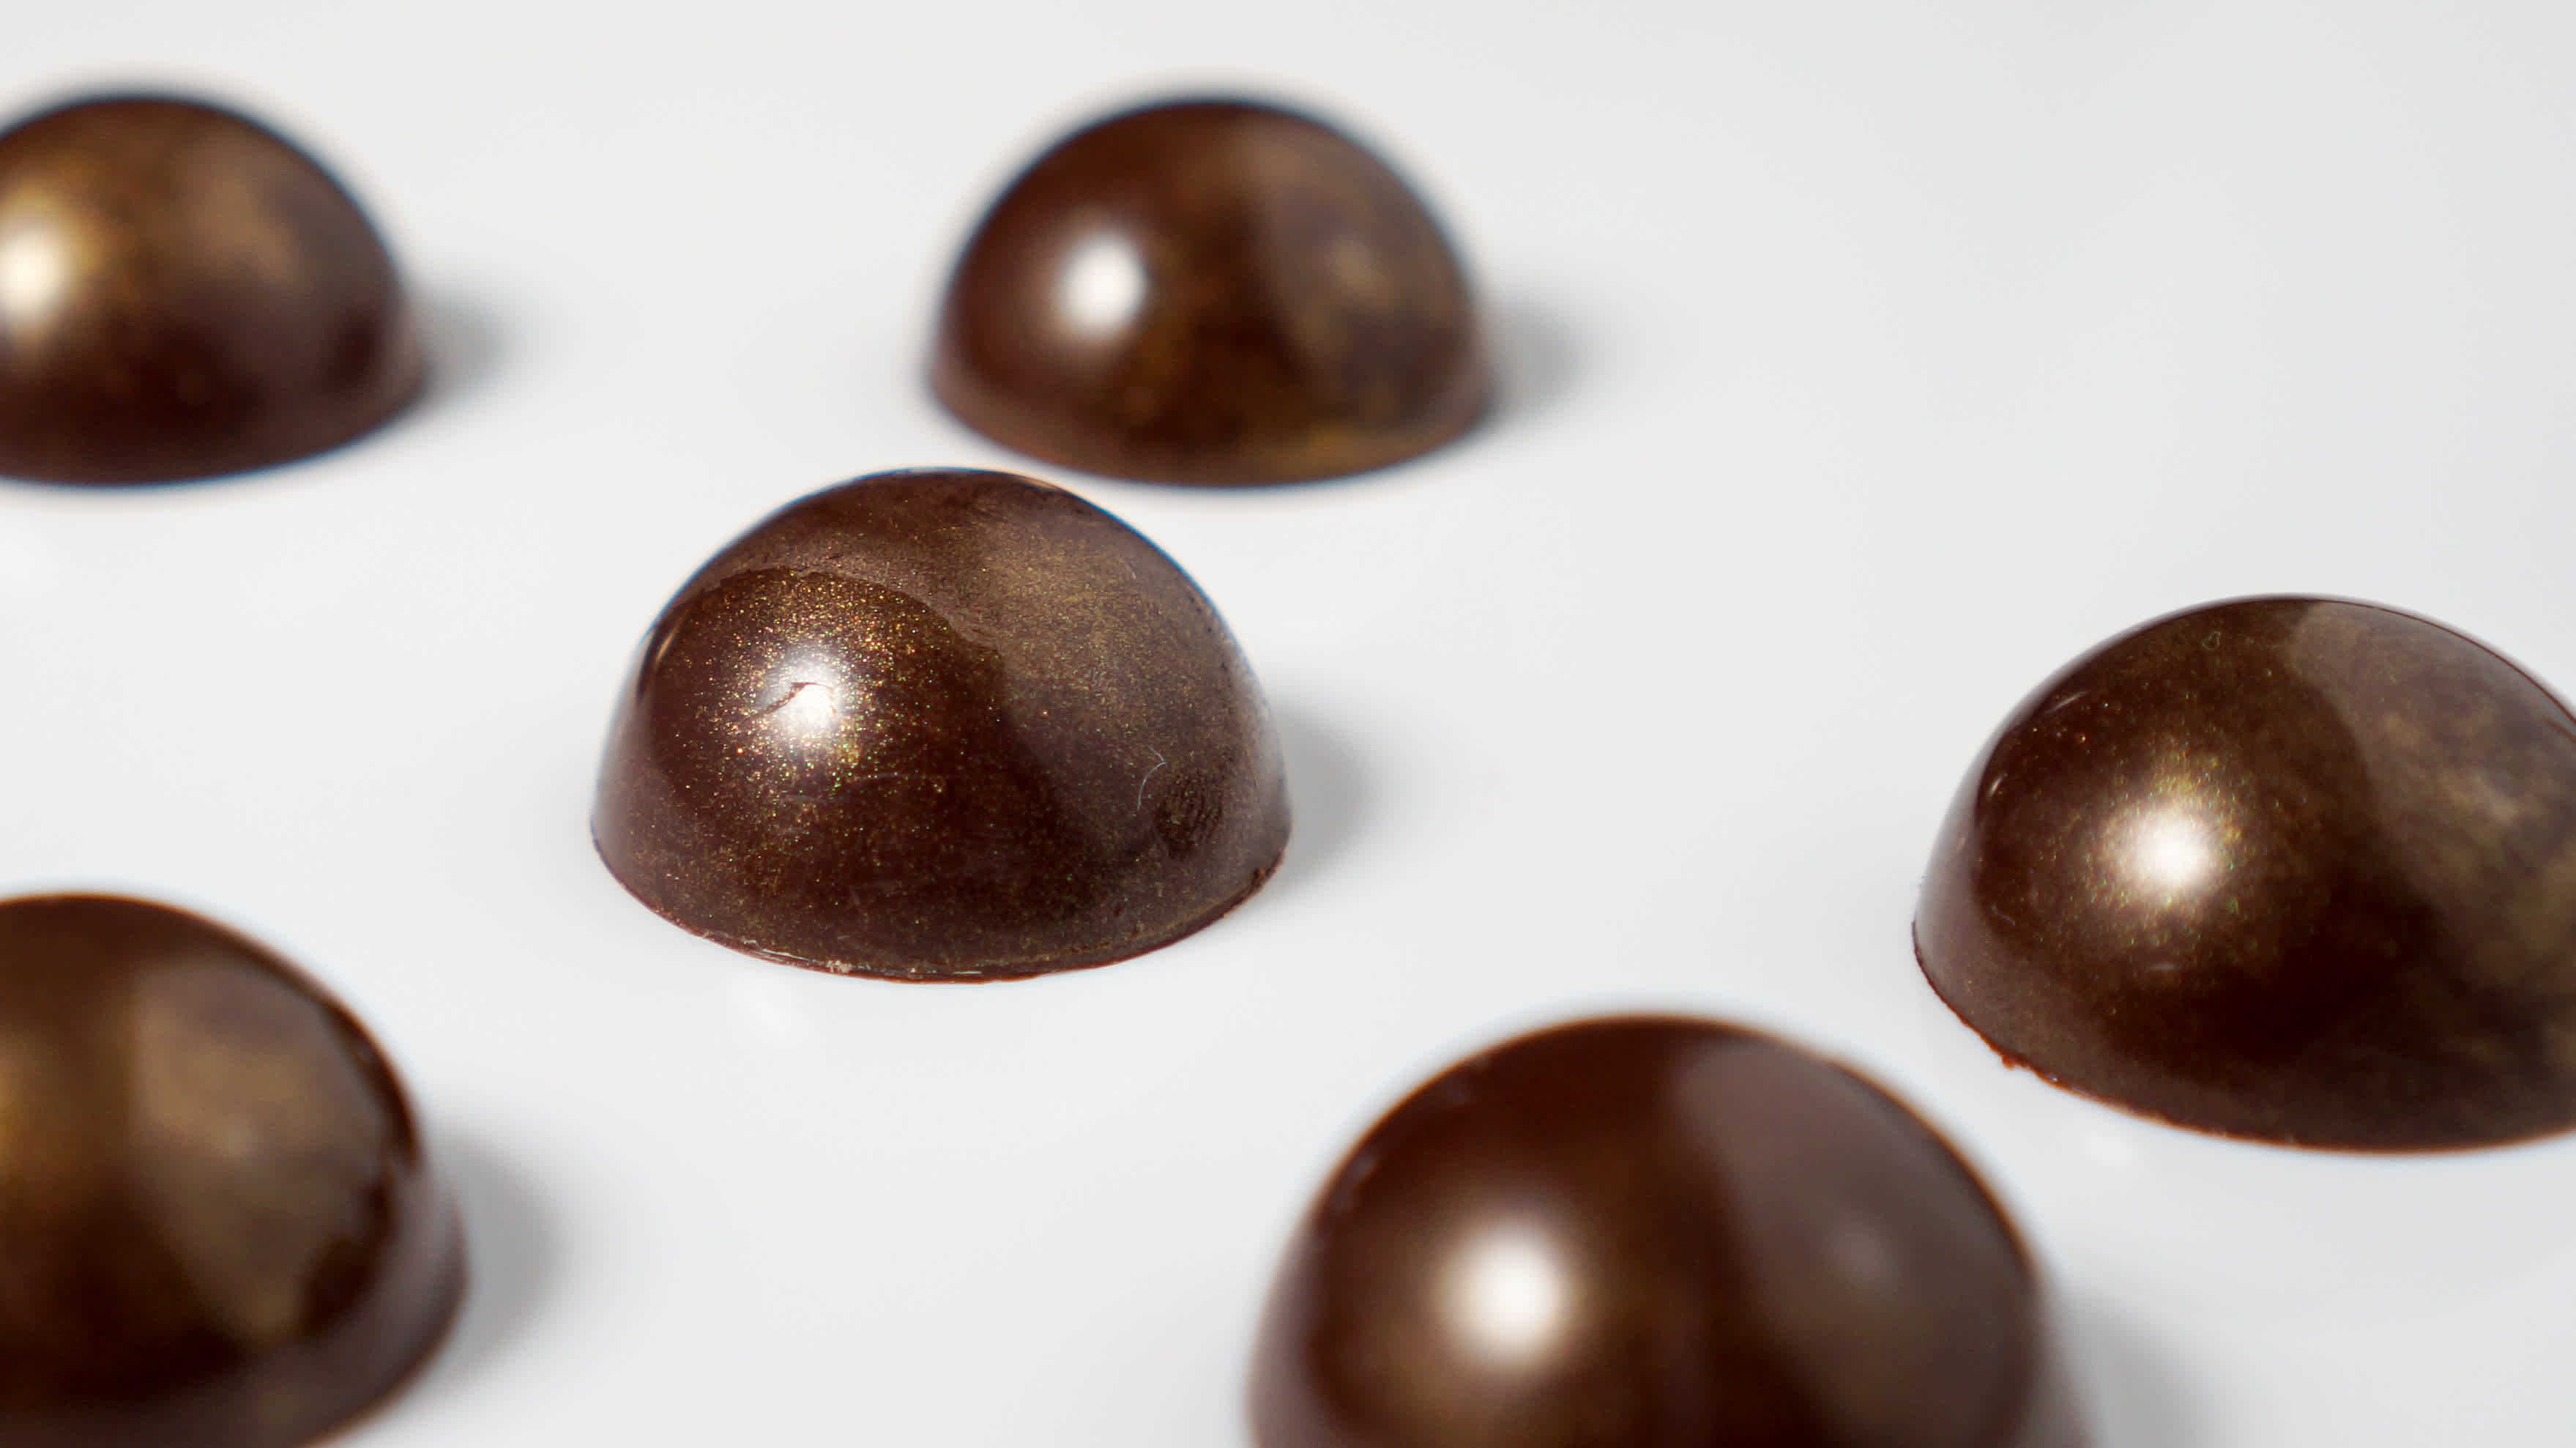
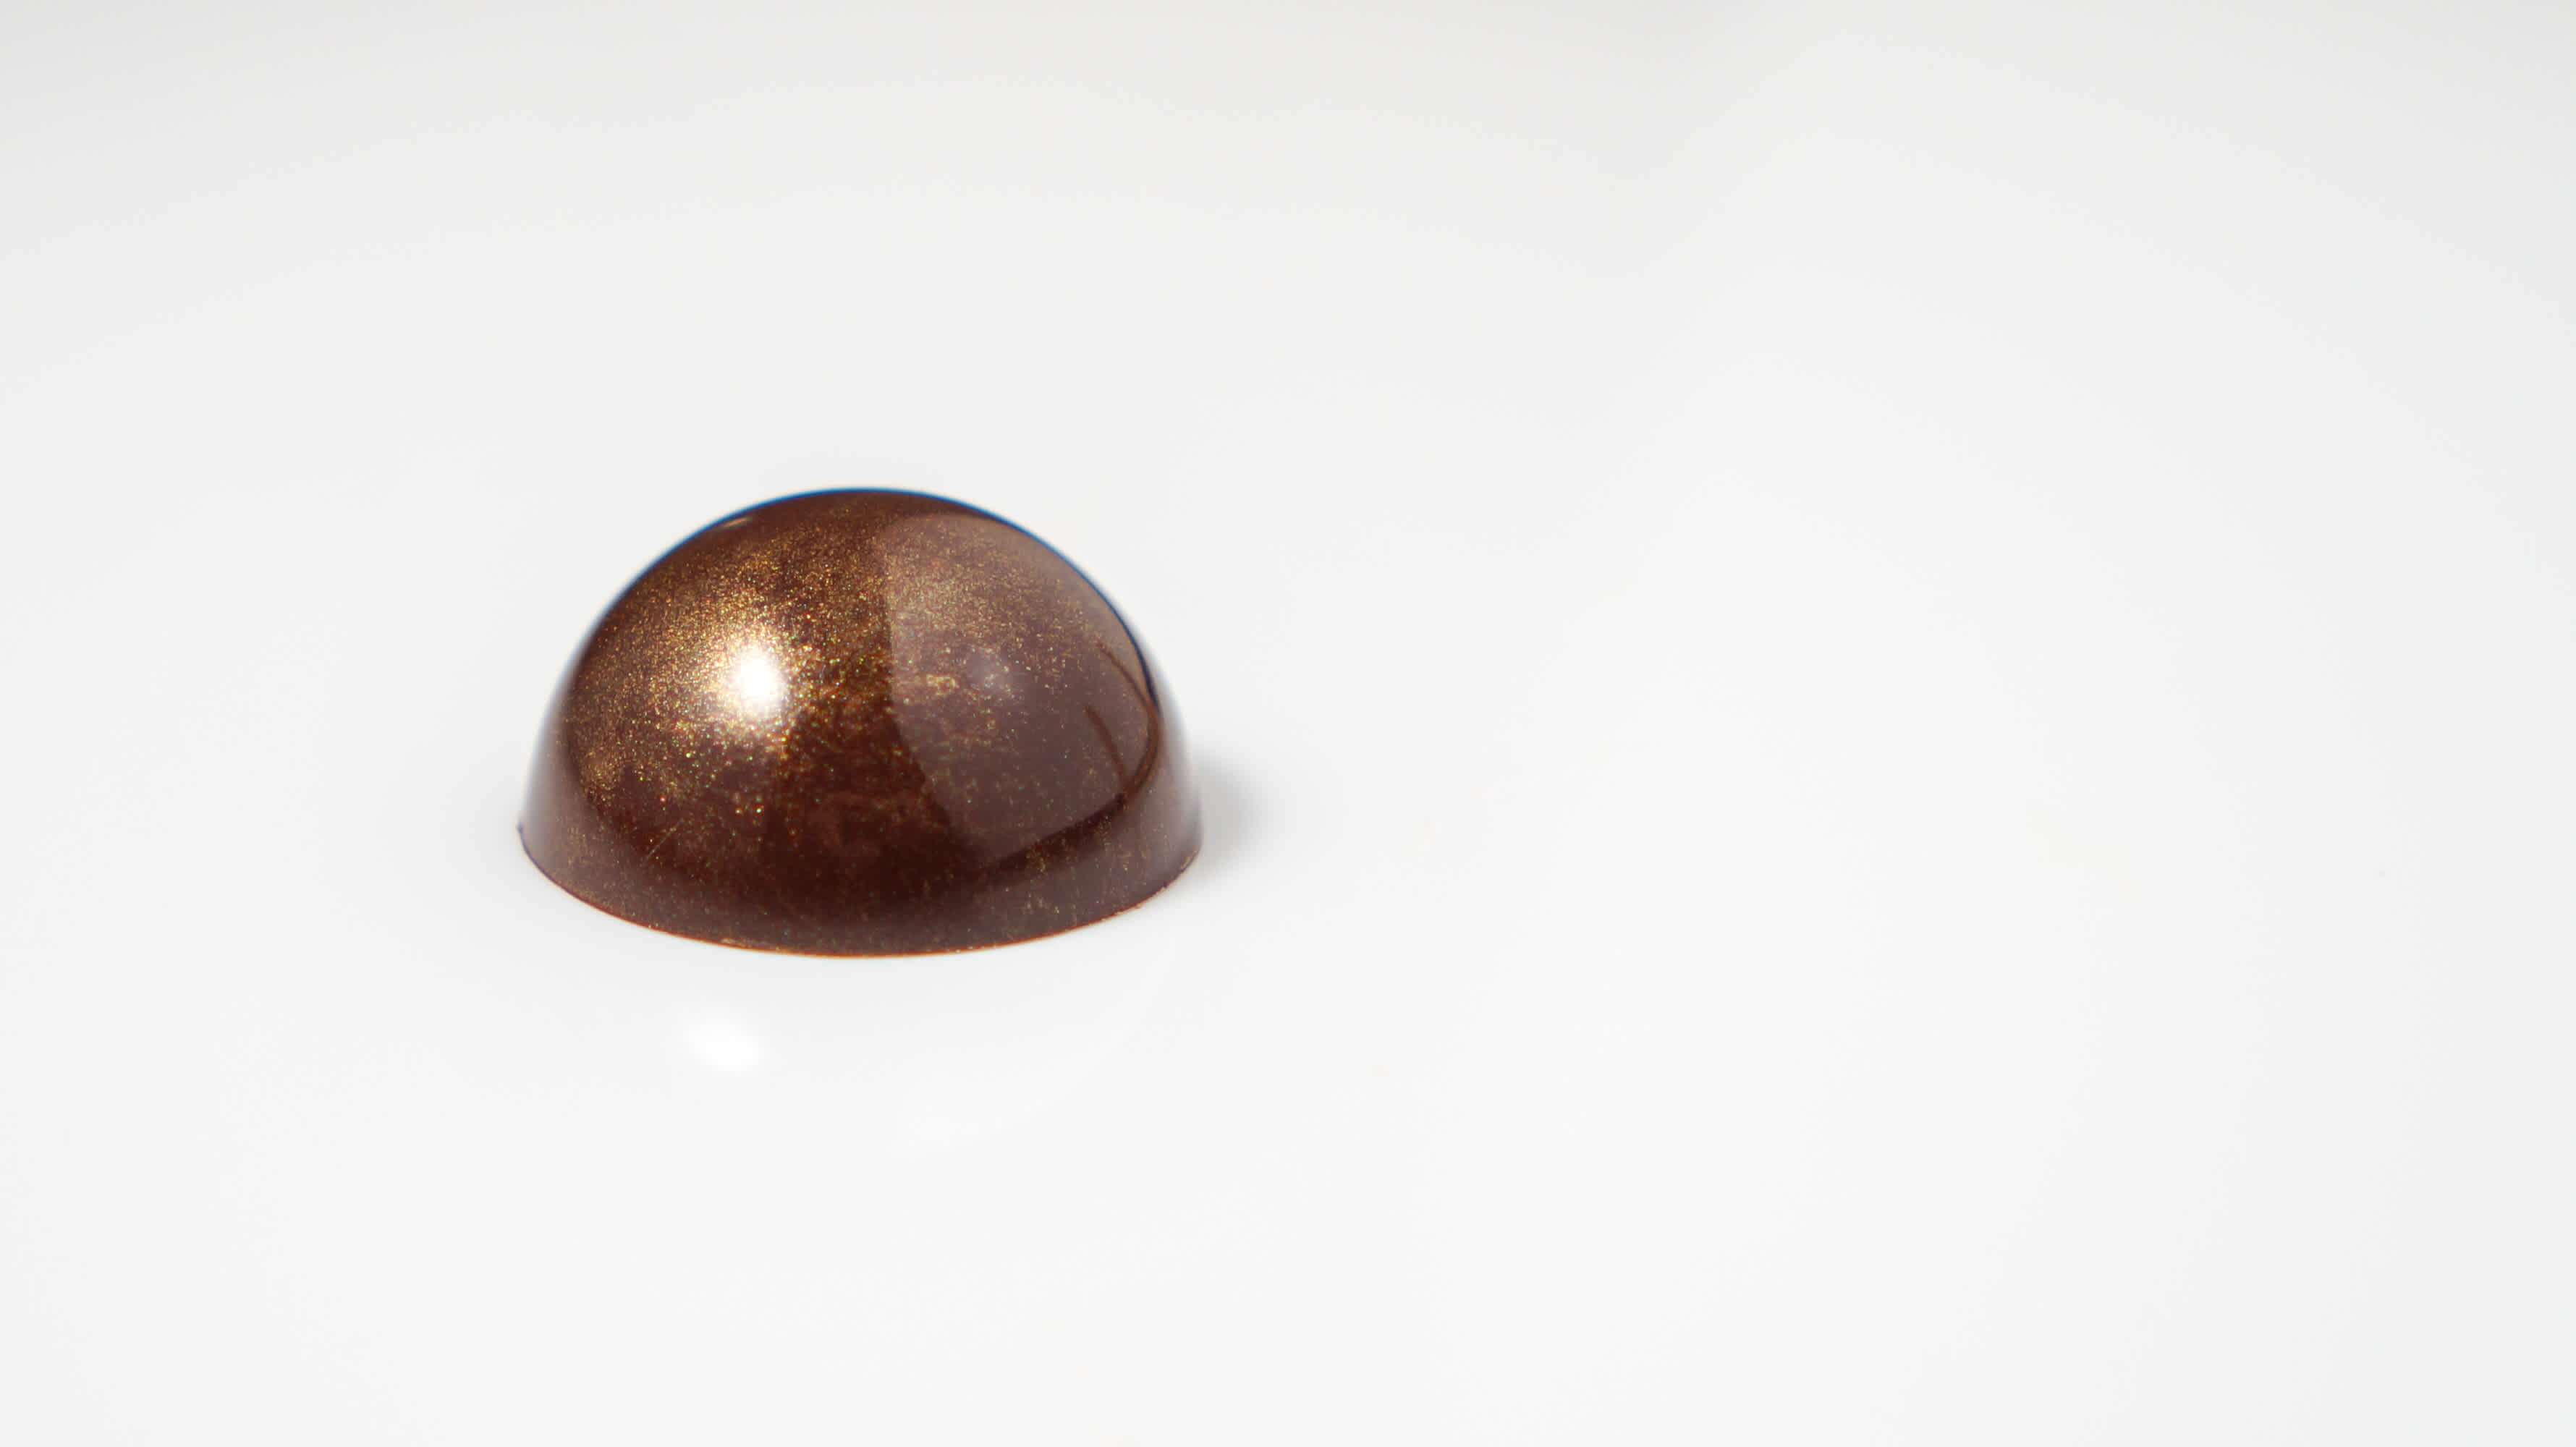
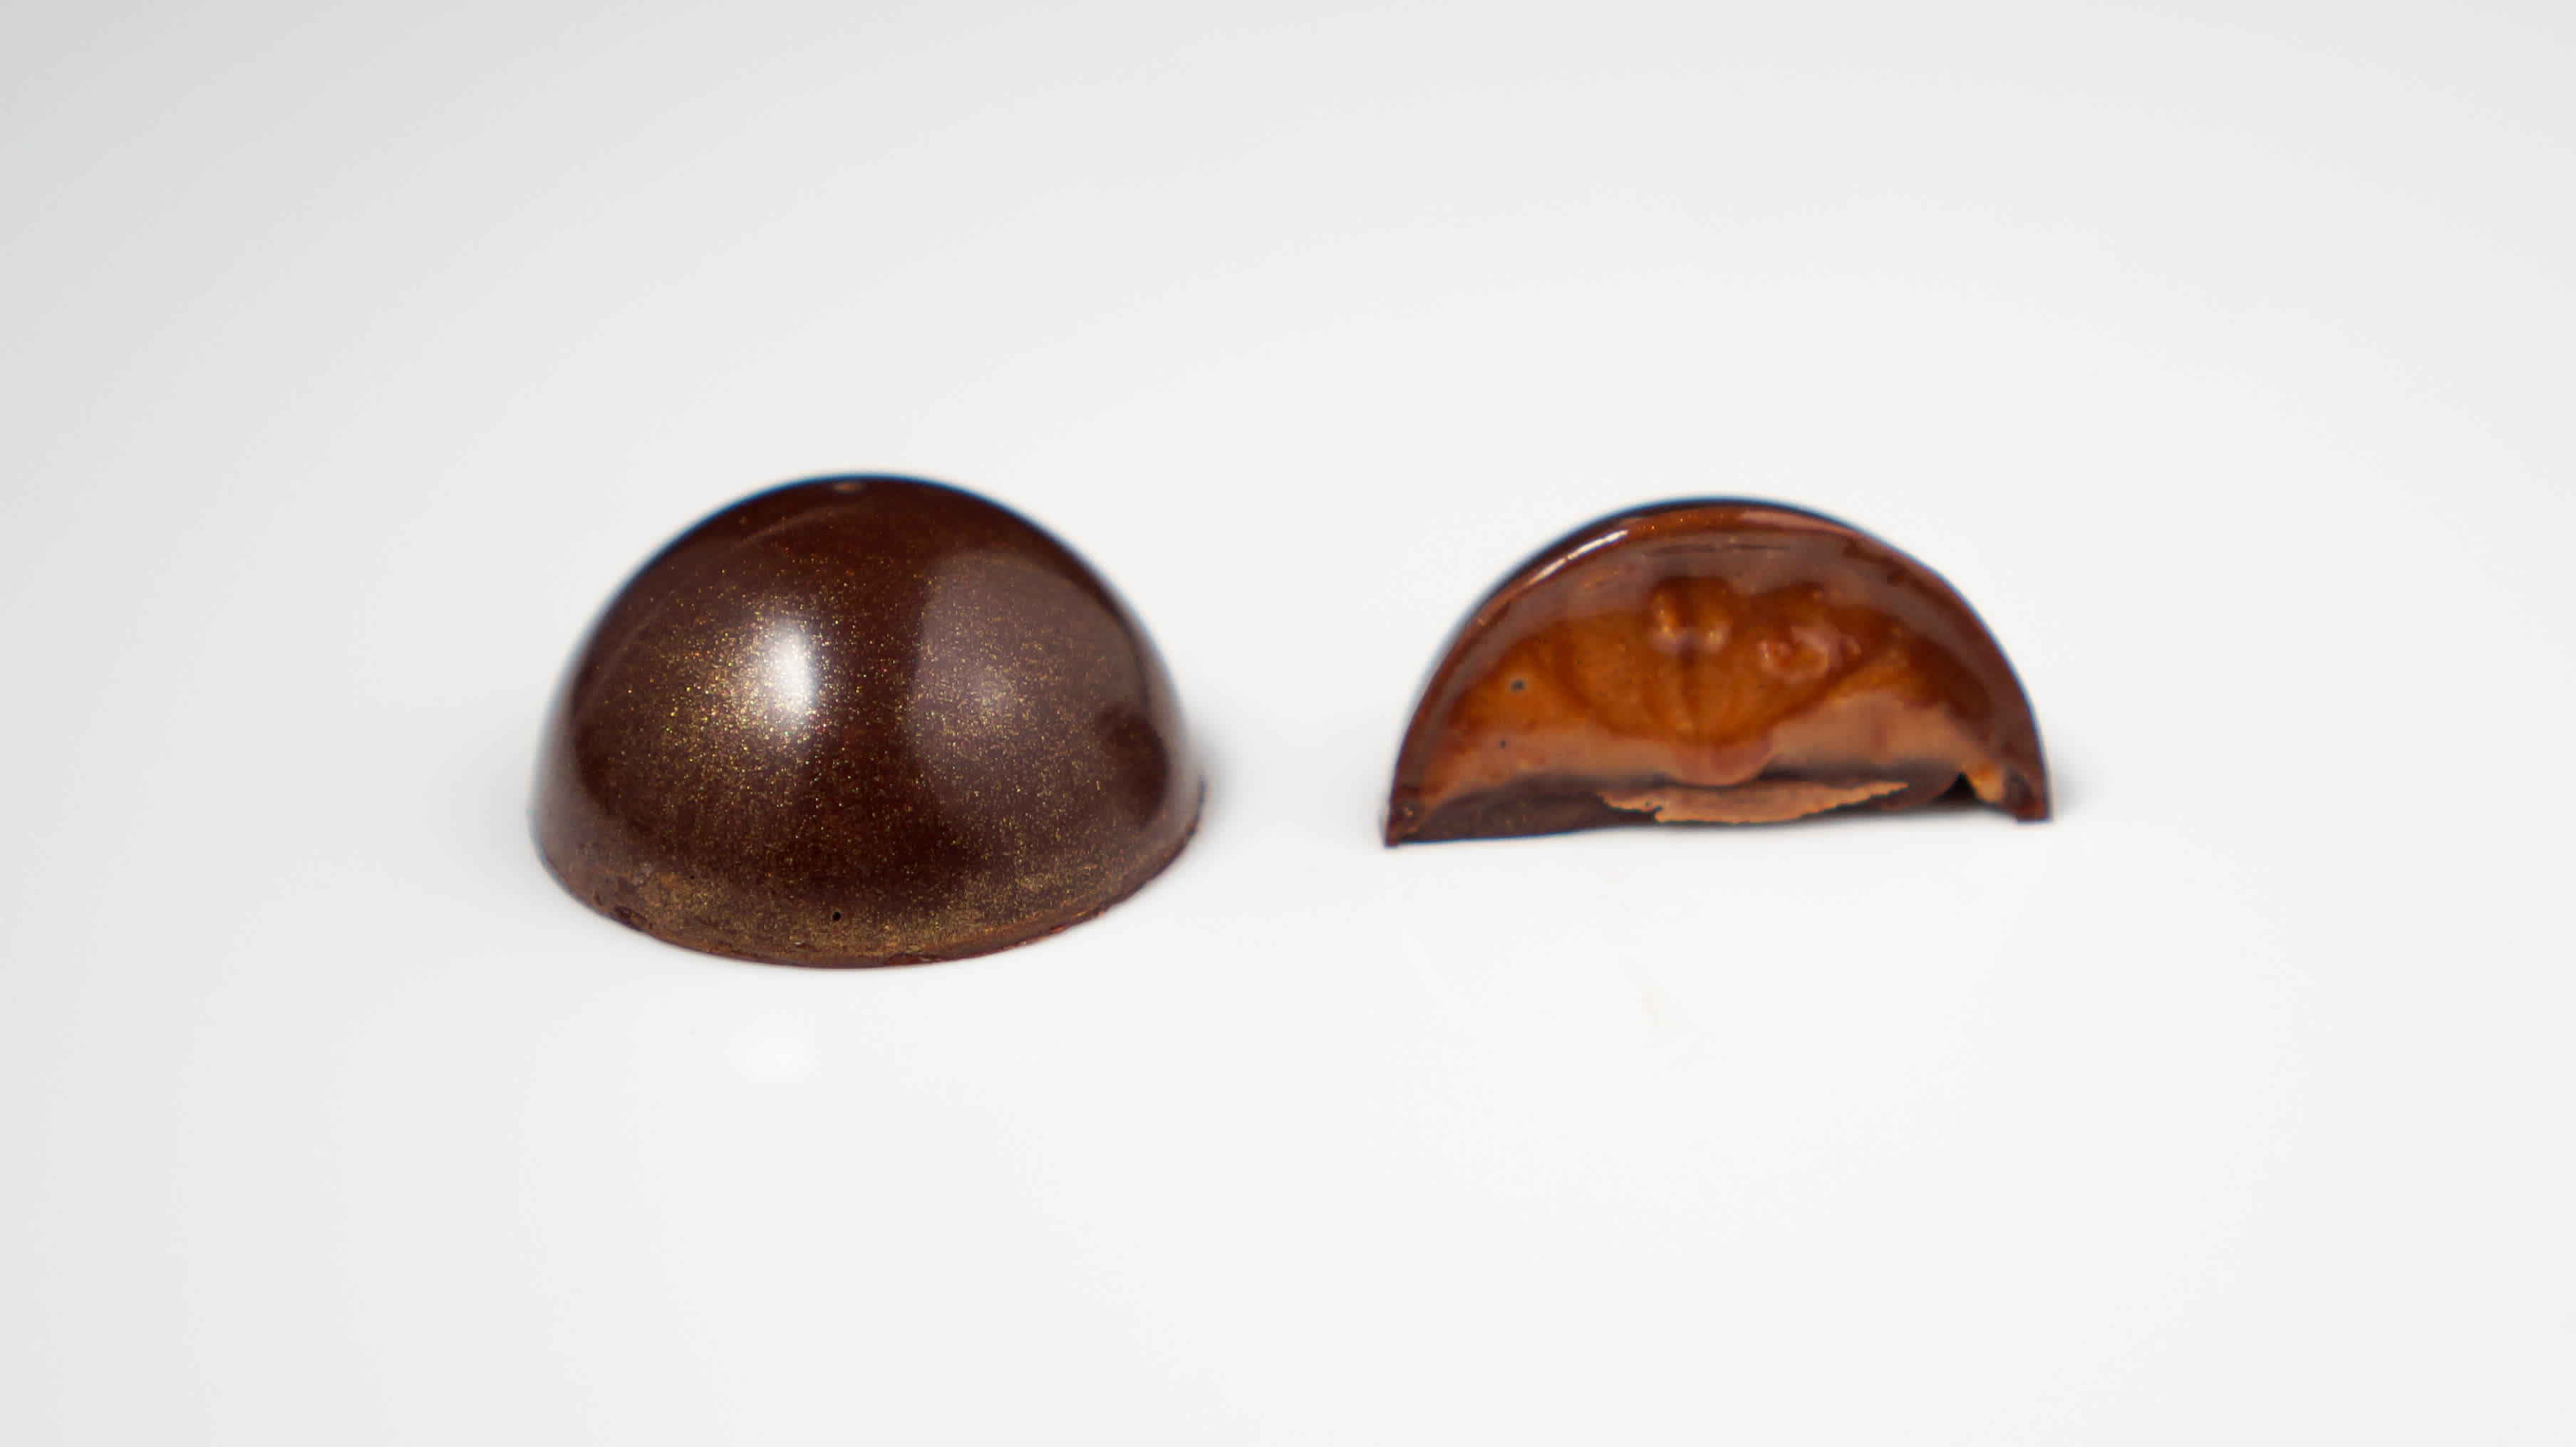
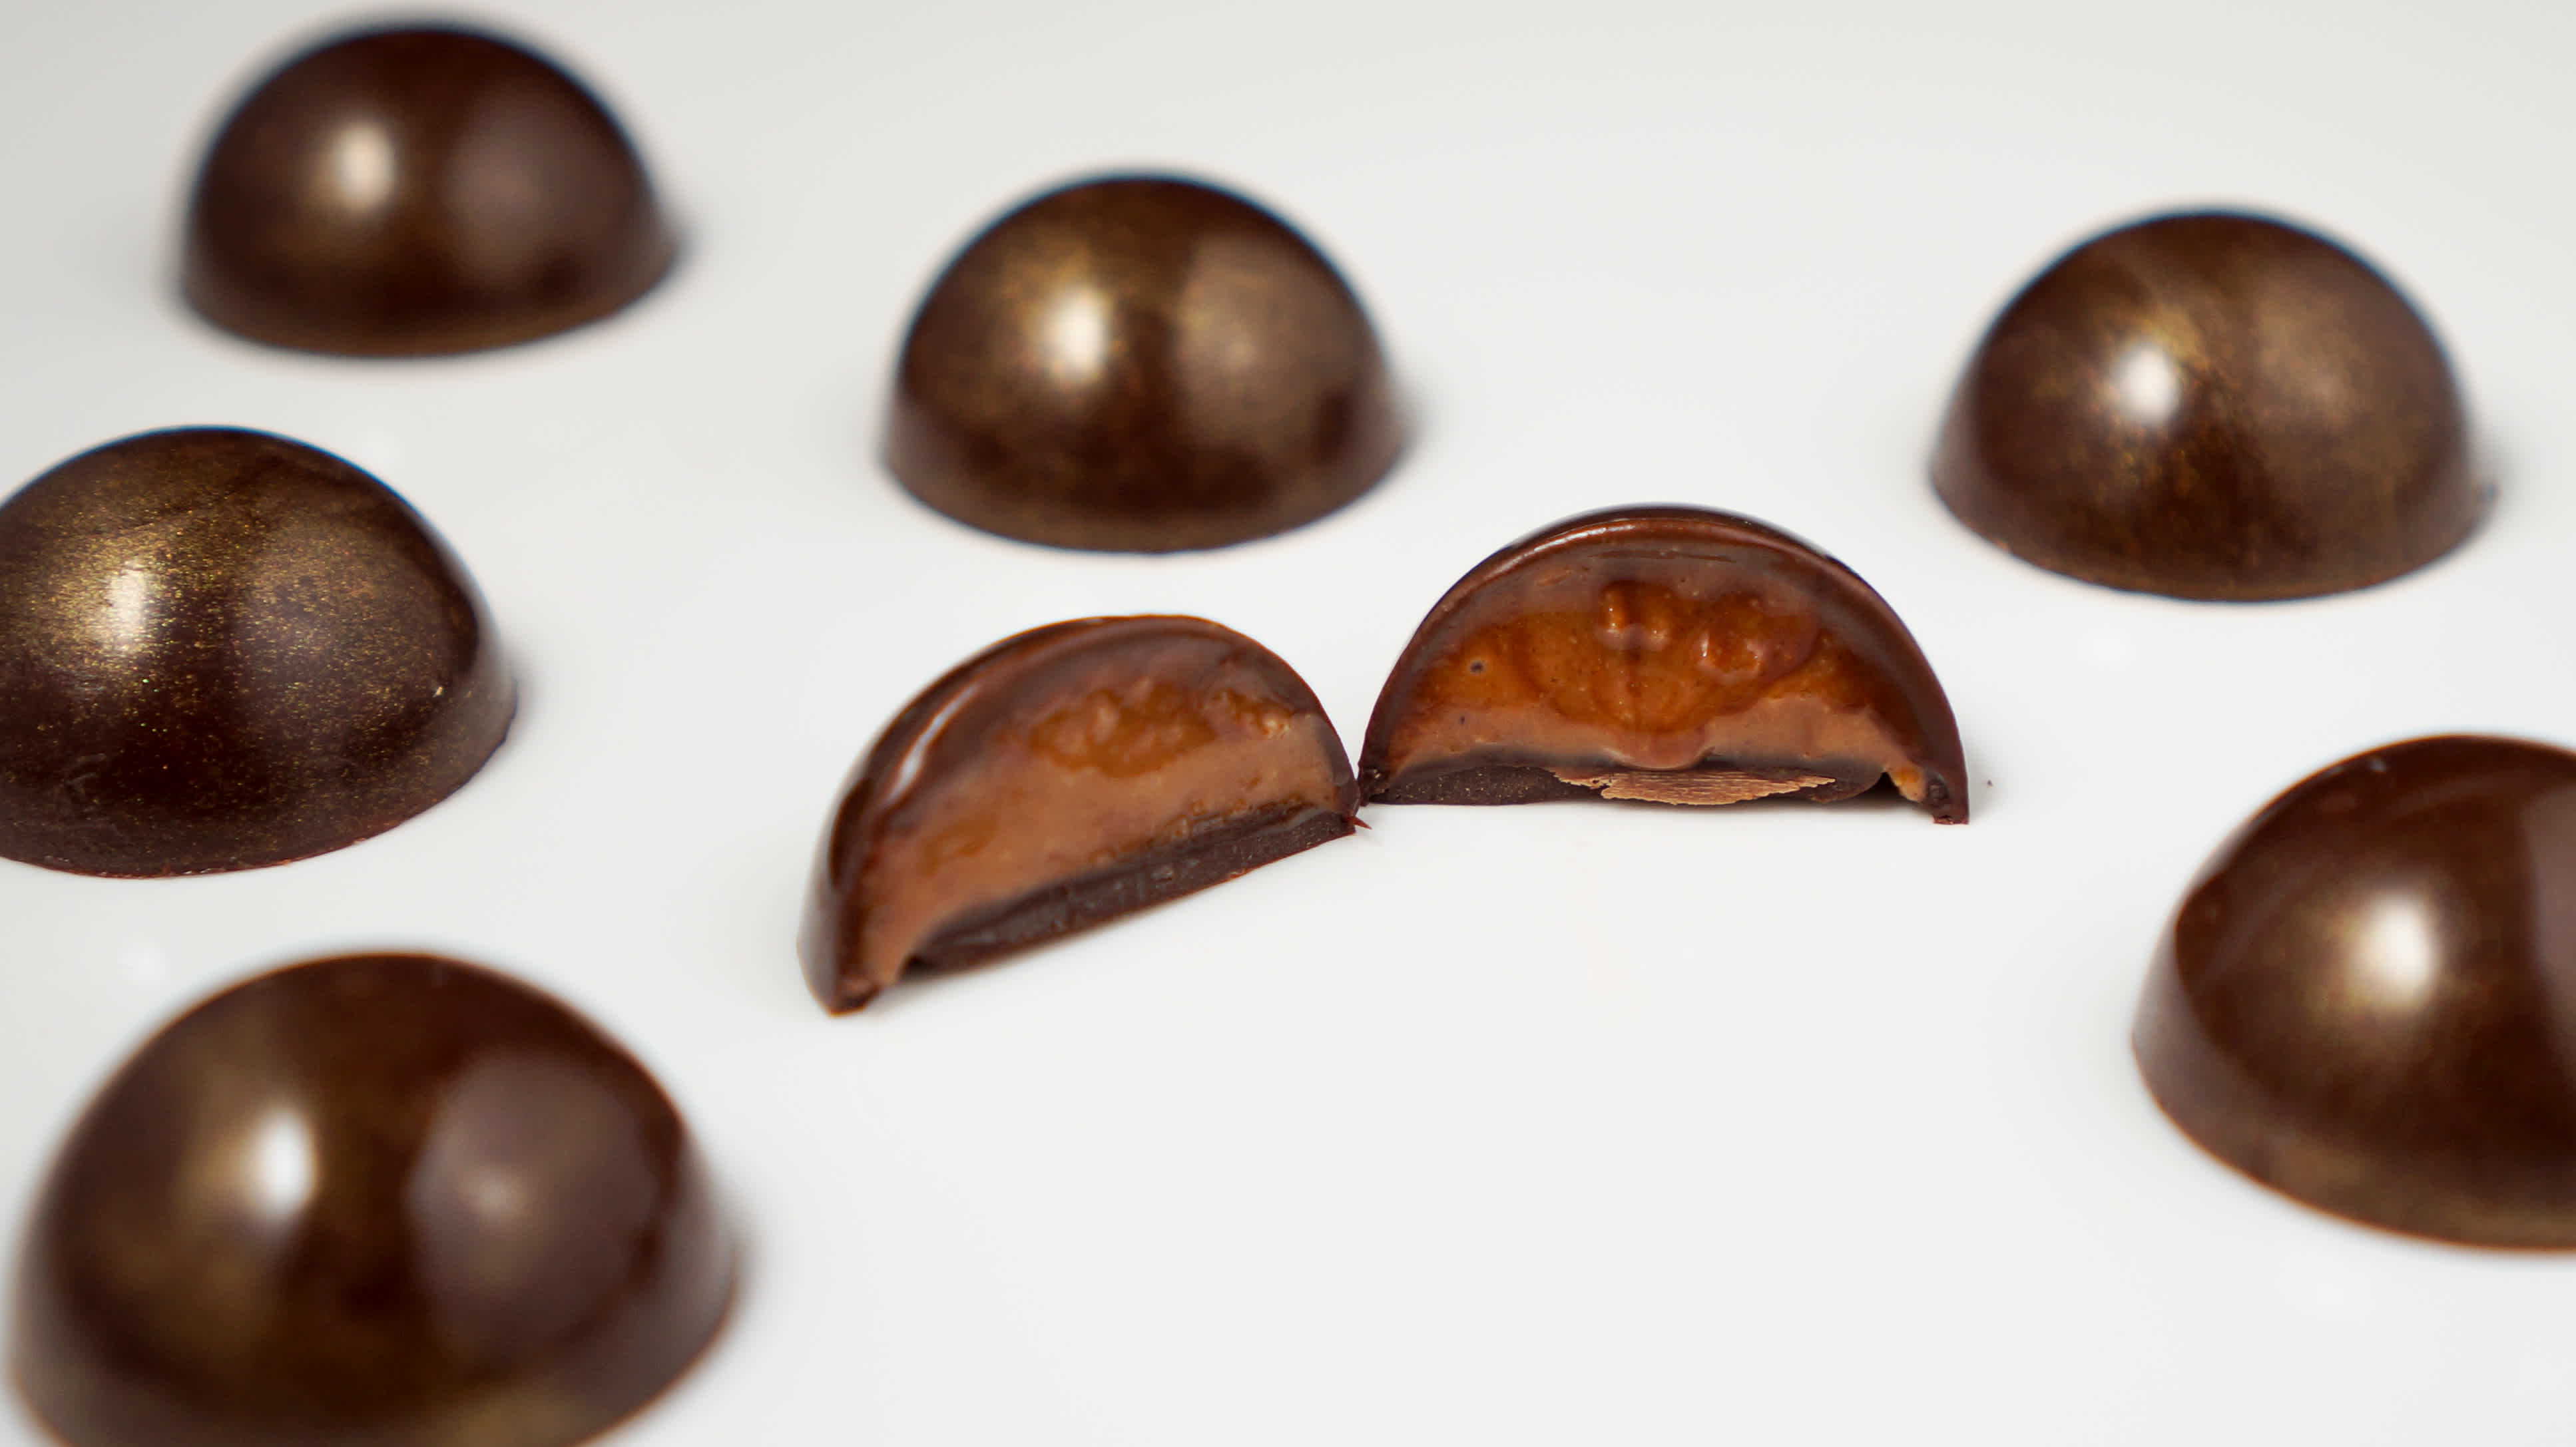
The perfect bonbon has a shiny thin shell, a delicious filling and is perfectly sealed with a thin cap. There is no single trick to achieving perfect bonbons at home. Making the perfect bonbons requires special attention to every single step.
Bonbons take a lot of work! It can be heartbreaking to go through hours of work to find that your bonbons are bloomed, don’t release from the mould, are leaking, dull or rough (especially if you are making them for a gift or special occasion). There are so many things that could go wrong so here is a list of tips to guide you through each step of the way and reduce the chance of failures and bring you closer to making perfect bonbons every single time.
Preparing the ideal environment
- The ideal room temperature to make bonbons is below 25°C (71°F). If the room temperature is too high, it will take too long for the chocolate and fillings to set.
- The room should not be too humid, ideally below 70% relative humidity. If the room is too humid, the chocolate may bloom while it is setting.
Prepare moulds
- Clean and polish moulds with a cotton pad.
- Heat mould slightly with heat gun. The temperature should be 2-4°C less than work temp of tempered chocolate to ensure a glossy finish.
Tempering the chocolate
- Make sure to have enough chocolate that you can fill the mould entirely. It is roughly 10-15g per cavity. The more chocolate you use, the longer it will hold its temperature and the more time you will have to use it. If you are filling multiple moulds, you will need a lot more chocolate to fill the mould and to ensure it stays at working temperature while you’re making the shells.
- Make sure chocolate doesn’t have any unmelted pieces in it. This will cause the chocolate to not coat evenly.
- When the chocolate is in temper, it should be quite fluid. Adding small amount of cocoa butter can help increase the fluidity.
Making chocolate shells
- Completely fill the mould cavities with tempered chocolate using a piping bag or ladle. It helps if you work cleanly and only drip chocolate down only one of the sides.
- Scrape off the excess and clean the sides. Try to scrape it off one of the short sides so that it is easier to clean.
- Scrape chocolate off the scraper. You want to keep the scraper clean so that the chocolate doesn’t set on it. If the scraper is not clean and there is chocolate on it, it could leave streaks and uneven markings in the shell.
- Shake and vibrate the mould tapping it rapidly on the worktop to ensure there are no bubbles in the shell.
- Hold the mould horizontally over a baking sheet to empty out the chocolate while tapping it with the scraper. Holding it horizontally will ensure you have an even shell.
- Scrape off the excess while it is upside down.
- Leave to harden, chocolate side facing up. Try to rest the mould on some spacers (a drying rack could work) to allow for airflow underneath. Make sure there is airflow or else the cooling will be too slow and cause blooming.
Filling the shells
- Ensure the filling is cooler than 28°C or else it could cause the chocolate to bloom.
- The filling shouldn't be too stiff or else it wont level out, and it will be difficult to seal.
- The filling shouldn't be too runny or we won’t be able to seal them.
- Only cut off a tiny tip. 2mm? To give more control.
- Fill to 1.5mm from the top (not too close or you won’t be able to fill). If too full, can use a straw to suck out excess.
- Try not to touch the edge with filling or else it will create holes when sealing.
- Tap the mould lightly to remove filling air bubbles, making sure not to damage the shells.
- Allow the fillings to set at room temperature overnight (not in the fridge).
Sealing the bonbons
- Heat the chocolate a bit with the heat gun so the seal is better.
- Put a bit of tempered choc to seal. Not too much or else the weight of the chocolate might push the filling out.
- Wipe off the excess choc in a sides and clean the sides of the mould.
- Lightly tap the mould to expel any air bubbles.
- Place in the fridge at 14-16° for at least 2 hours.
Releasing bonbons from the mould
- Flex the mould like an ice cube tray to loosen chocolates.
- Flip the chocolates onto wax paper.
- If not all of them come out, be sure to get the unmoulded moulded pralines out of the way so that they are not crushed. Be slow when tapping out extras as they might fall out before you tap them.
- If some are stuck, try placing it in the fridge for a few minutes to help with the contraction.
Other tips
- Wear gloves when handling to avoid fingerprints.
- Make sure the shell is completely set before adding the filling.
- Make sure the filling is completely set before sealing them.


